创建 Python 应用
确保 Visual Studio 安装有 Python 开发工具
1
2
3
4
5
6
7
8
9
10
11
12
13
14
15
16
17
18
19
20
21
22
23
24
25
26
27
28
29
30
31
from random import randomfrom time import perf_counterCOUNT = 500000 DATA = [(random() - 0.5 ) * 3 for _ in range (COUNT)] e = 2.7182818284590452353602874713527 def sinh (x ): return (1 - (e ** (-2 * x))) / (2 * (e ** -x)) def cosh (x ): return (1 + (e ** (-2 * x))) / (2 * (e ** -x)) def tanh (x ): tanh_x = sinh(x) / cosh(x) return tanh_x def test (fn, name ): start = perf_counter() result = fn(DATA) duration = perf_counter() - start print ('{} took {:.3f} seconds\n\n' .format (name, duration)) for d in result: assert -1 <= d <= 1 , " incorrect values" if __name__ == "__main__" : print ('Running benchmarks with COUNT = {}' .format (COUNT)) test(lambda d: [tanh(x) for x in d], '[tanh(x) for x in d] (Python implementation)' )
创建 C++ 项目
可以在解决方案中添加新的 C++ 空项目。
设置 C++ 项目的属性:
目标名称(Target Name):默认是 $<ProjectName>,可以修改成想要的名称。
【高级(Advanced) > 目标文件扩展名(Target File Extension)】:修改成 .pyd
【Project Defaults > 配置类型(Configuration Type)】:改成链接库 .dll
「附加包含目录」 中加入对应版本的 Python 头文件支持
_DEBUG 改成 _NDEBUG/MDPython 库目录
1 2 3 4 5 6 7 8 9 10 11 12 13 14 15 16 #include <Windows.h> #include <cmath> const double e = 2.7182818284590452353602874713527 ;double sinh_impl (double x) return (1 - pow (e, (-2 * x))) / (2 * pow (e, -x)); } double cosh_impl (double x) return (1 + pow (e, (-2 * x))) / (2 * pow (e, -x)); } double tanh_impl (double x) return sinh_impl (x) / cosh_impl (x); }
使用 Pybind 11 绑定代码
在对应的 Python 环境中安装 pybind11:pip install pybind11
加入对应的 include,因为 pybind11 是纯头文件库,所以不需要添加 lib。
1 2 3 4 5 6 7 8 9 10 11 12 13 14 15 #include <pybind11/pybind11.h> namespace py = pybind11;PYBIND11_MODULE (superfastcode, m) { m.def ("fast_tanh" , &tanh_impl, R"pbdoc( Compute a hyperbolic tangent of a single argument expressed in radians. )pbdoc" );#ifdef VERSION_INFO m.attr ("__version__" ) = VERSION_INFO; #else m.attr ("__version__" ) = "dev" ; #endif }
基于 GPT 可以生成 bind 代码
bind 操作手工进行是很枯燥乏味的,特别是函数以及参数变得复杂以后,使用 GPT 其实可以很好的解决的这个问题。实测 98% 作为能用,以下选取 GPT 生成的其中一段示例。
1 2 3 4 5 6 7 8 9 10 11 12 13 14 15 16 17 18 19 20 21 22 23 24 25 26 27 28 29 30 31 32 33 34 35 36 37 38 39 40 41 42 43 44 45 46 47 #include <pybind11/pybind11.h> namespace py = pybind11;PYBIND11_MODULE (dyfbowarp, m) { py::class_ <FTWarp::Vec2>(m, "Vec2" ) .def (py::init <float , float >()) .def_readwrite ("x" , &FTWarp::Vec2::x) .def_readwrite ("y" , &FTWarp::Vec2::y) .def ("__getitem__" , [](const FTWarp::Vec2& v, size_t i) { if (i == 0 ) { return v.x; } else if (i == 1 ) { return v.y; } else { throw py::index_error ("Vec2 index out of range" ); } }) .def ("__len__" , [](const FTWarp::Vec2& v) { return 2 ; }); py::class_<std::vector<FTWarp::Vec2>, std::shared_ptr<std::vector<FTWarp::Vec2>>>(m, "Vec2List" ) .def (py::init<>()) .def ("emplace_back" , [](std::vector<FTWarp::Vec2>& v, const FTWarp::Vec2& val) {return v.emplace_back (val); }) .def ("__len__" , [](const std::vector<FTWarp::Vec2>& v) { return v.size (); }) .def ("__getitem__" , [](const std::vector<FTWarp::Vec2>& v, size_t i) { if (i >= v.size ()) throw py::index_error (); return v[i]; }) .def ("__setitem__" , [](std::vector<FTWarp::Vec2>& v, size_t i, const FTWarp::Vec2& val) { if (i >= v.size ()) throw py::index_error (); v[i] = val; }); #ifdef VERSION_INFO m.attr ("__version__" ) = VERSION_INFO; #else m.attr ("__version__" ) = "dev" ; #endif }
从 Python 调用 DLL
1
2
3
from superfastcode import fast_tanhtest(lambda d: [fast_tanh(x) for x in d], '[fast_tanh(x) for x in d] (Pybind11 C++ extension)' )
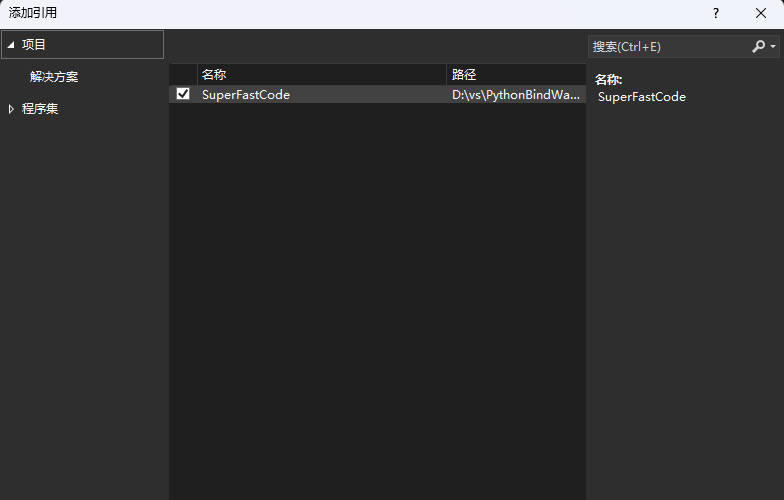
通过解决方案只需要引用 C++ 项目
在 Python 中安装这个模块
在 C++ 项目中创建 setup.py:
1
2
3
4
5
6
7
8
9
10
11
12
13
14
15
16
17
18
19
from setuptools import setup, Extensionimport pybind11cpp_args = ['-std=c++11' , '-stdlib=libc++' , '-mmacosx-version-min=10.7' ] sfc_module = Extension( 'superfastcode' , sources=['module.cpp' ], include_dirs=[pybind11.get_include()], language='c++' , extra_compile_args=cpp_args, ) setup( name='superfastcode' , version='1.0' , description='Python package with superfastcode2 C++ extension (PyBind11)' , ext_modules=[sfc_module], )
创建第二个文件 pyproject.toml:
1
2
3
[build-system] requires = ["setuptools" , "wheel" , "pybind11" ]build-backend = "setuptools.build_meta"
若要生成扩展,打开 pyproject.toml 选项卡,然后选择「复制完整路径」。 使用该路径之前,需要从中删除 pyproject.toml 名称。
在「解决方案资源管理器」中,右键单击当前活动的 Python 环境,然后选择「管理 Python 包」。
搜索框中粘贴已复制的路径,删除路径最后末尾处的 pyproject.toml,然后按 Enter 从该目录中安装该模块。
打包成 whl 包
如果运行时依赖第三方 .dll,可以把运行时依赖的 .dll 拷贝到对应的 build,例如 build\lib.win-amd64-cpython-39 文件夹下。
参考资料

 微信支付
微信支付 支付宝
支付宝 狗狗币
狗狗币